Hugelkultur, have you heard of it? It’s like active composting while growing plants. This approach is believed to have originated in Europe as a technique for growing plants in places with harsh climates and short growing seasons. Directly translating to “hill culture,” it’s not fully known whether the name came from the hill-like garden it creates, or because it originated in the hill-towns of Europe. But despite it’s origination, people are finding that Hugelkultur is a useful tool for supplying long-lasting nutrients to your plantings!
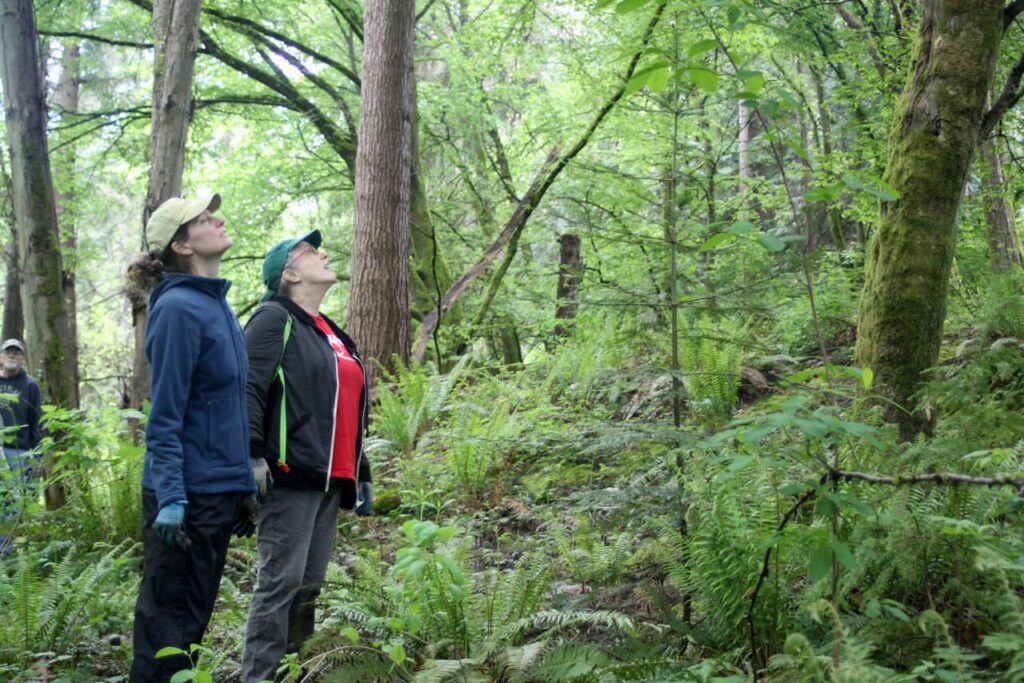
By burying woody debris and organic material, Hugelkultur creates a large reserve of carbon and nutrients for plants to feed off of. Typically this technique is used in gardening, but here at the Green Seattle Partnership we are re-thinking how to use this method as a way to amend degraded soils. Camp Long Forest Steward, Jarret Griesemer, led a hands-on training to teach other stewards about how hugelkultur can be used as a way to establish plants in areas where die-off has been an issue. Jarret discussed the benefits of Hugelkultur and taught us the necessary steps to creating your own Hugelkultur experiment, which are outlined below:
Before you start: Choose a site
When choosing a site for your Hugelkultur mound, look for bare soils that have little growing, and be wary of surrounding plants. Remember that you will be planting into this mound, so you want to give enough space for your plants to flourish.
Before you start: Gather materials
Once you have your site selected, you want to gather your materials. These materials will include: large and small pieces of wood, dead leaves and organic material, and soil. Try to utilize materials on your site, but without depleting your surrounding resources. If you are able to, you can bring in outside soil, compost, or mulch to add to your pile.
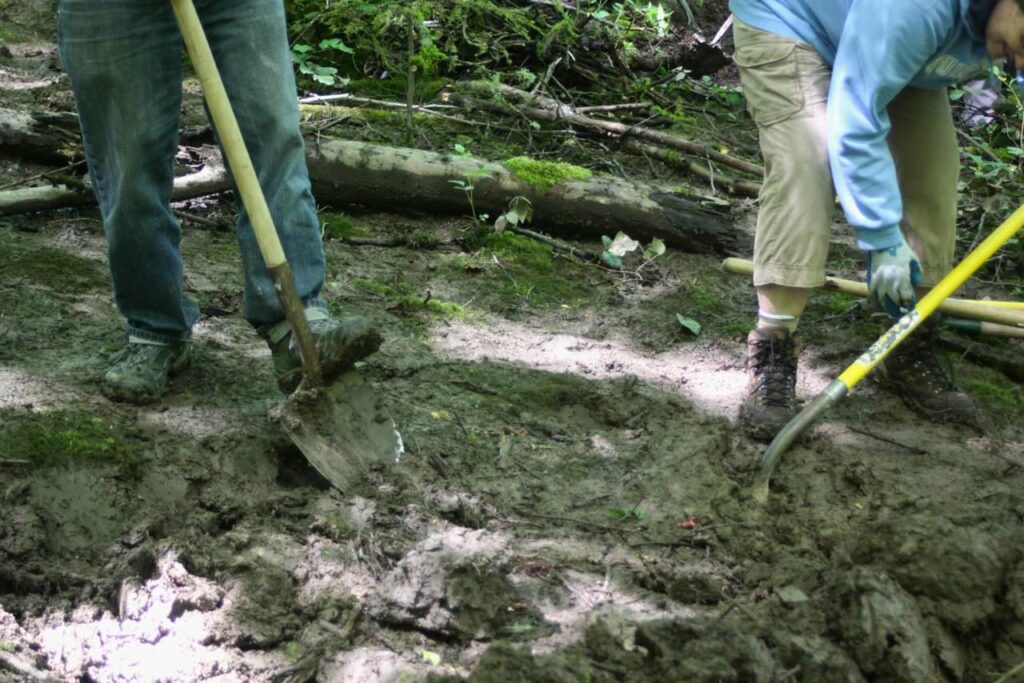
Step 1: Dig a trench
Dig a trench about a foot deep and reserve soil off to the side. This step isn’t always needed, but if the soil from your trench is not too degraded, it can be used as a top-soil for finishing your Hugelkultur pile.
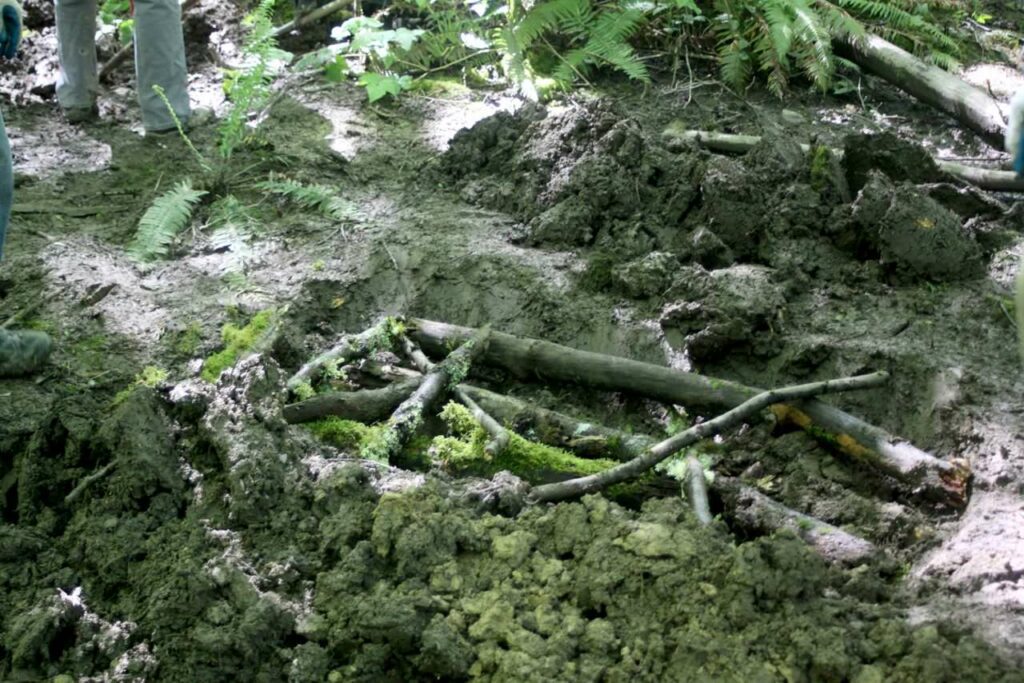
Step 2: Add large wood pieces
Stack large wood in a criss-cross method, making sure to maximize air-space within the pile. Proper air flow is critical because the microbes in your pile will need oxygen in order to actively decompose the organic material above.
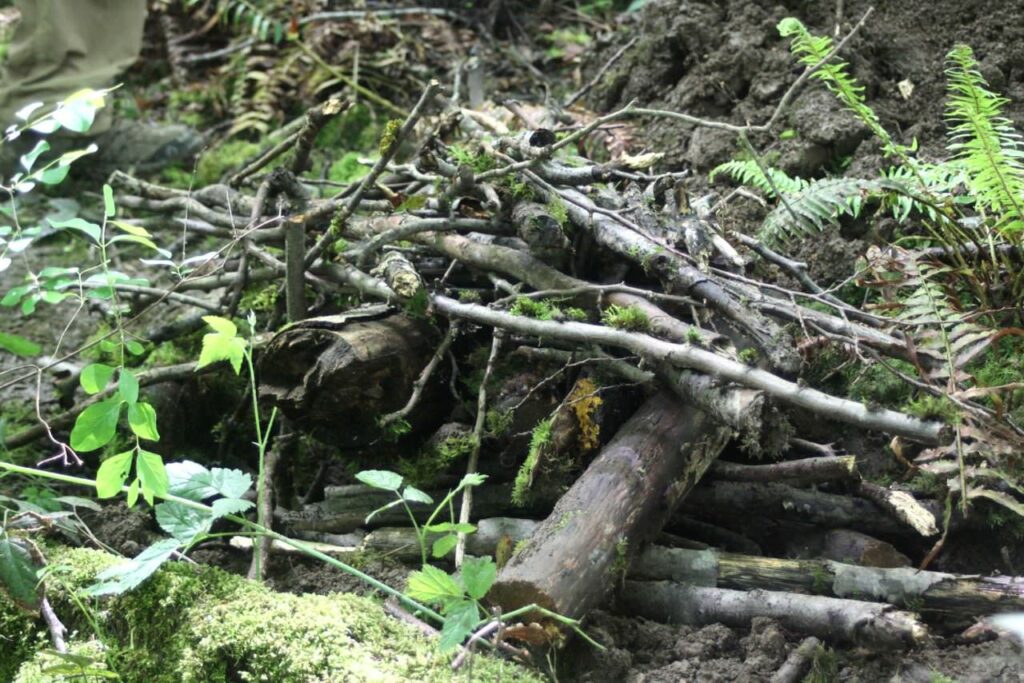
Step 3: Add smaller wood pieces
Now you can add smaller pieces of wood to your pile. It’s good to mix in wood at various stages of decomposition, with some softer, more rotten pieces in the pile.
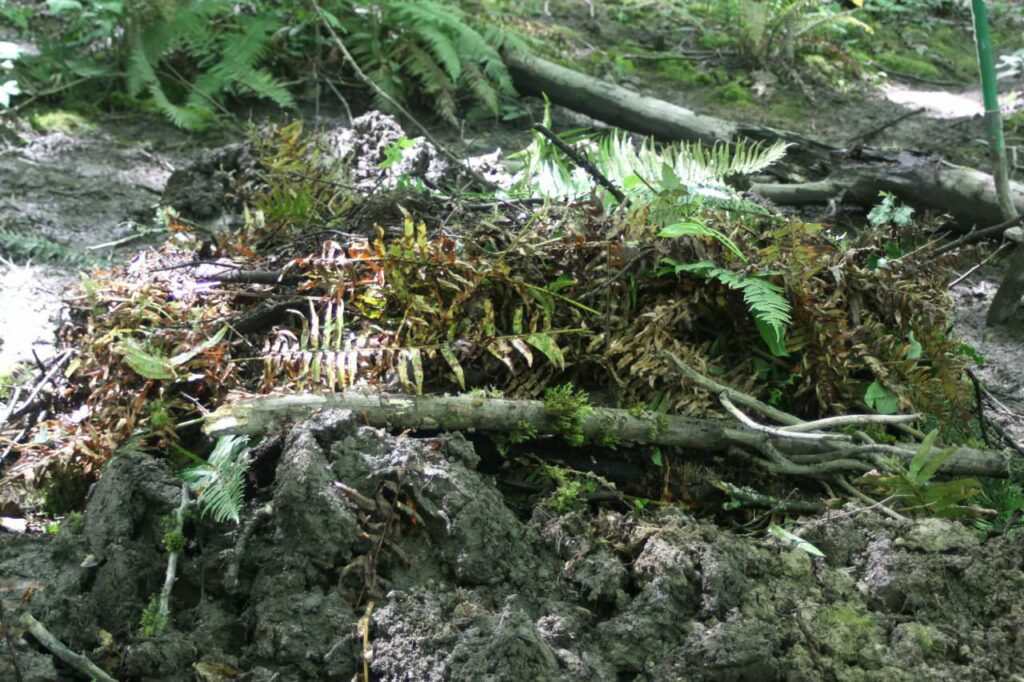
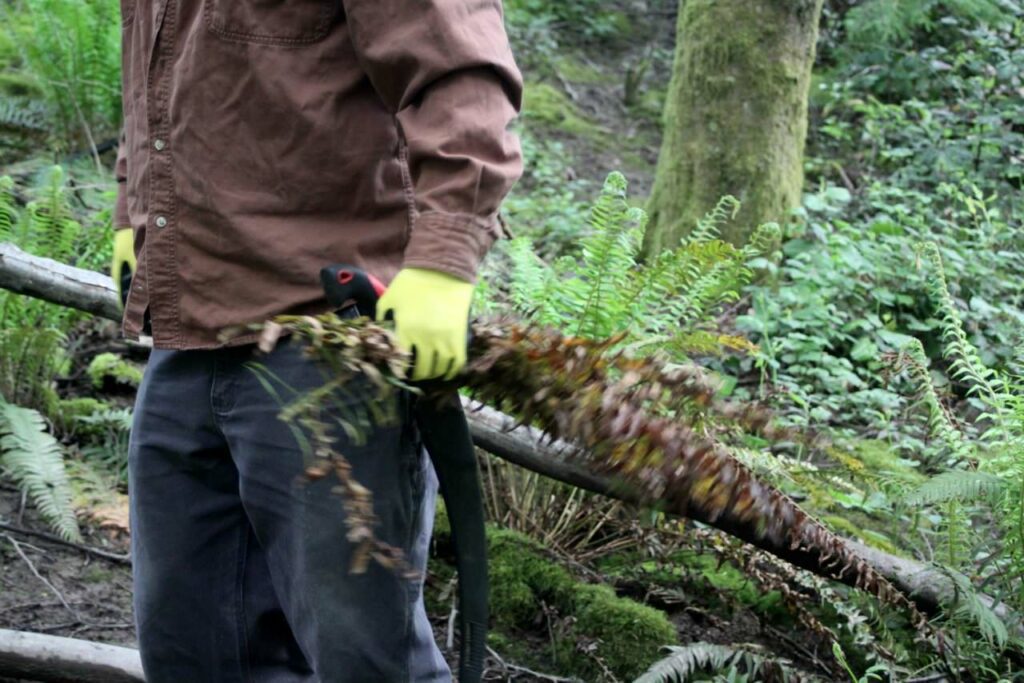
Step 4: Add a ‘brown layer’
Add a layer of dead organic material, primarily dead leaves. Here in Seattle’s forests, think about using dead sword fern fronds or big leaf maple leaves. Make sure to cover all of the wood with this brown layer.
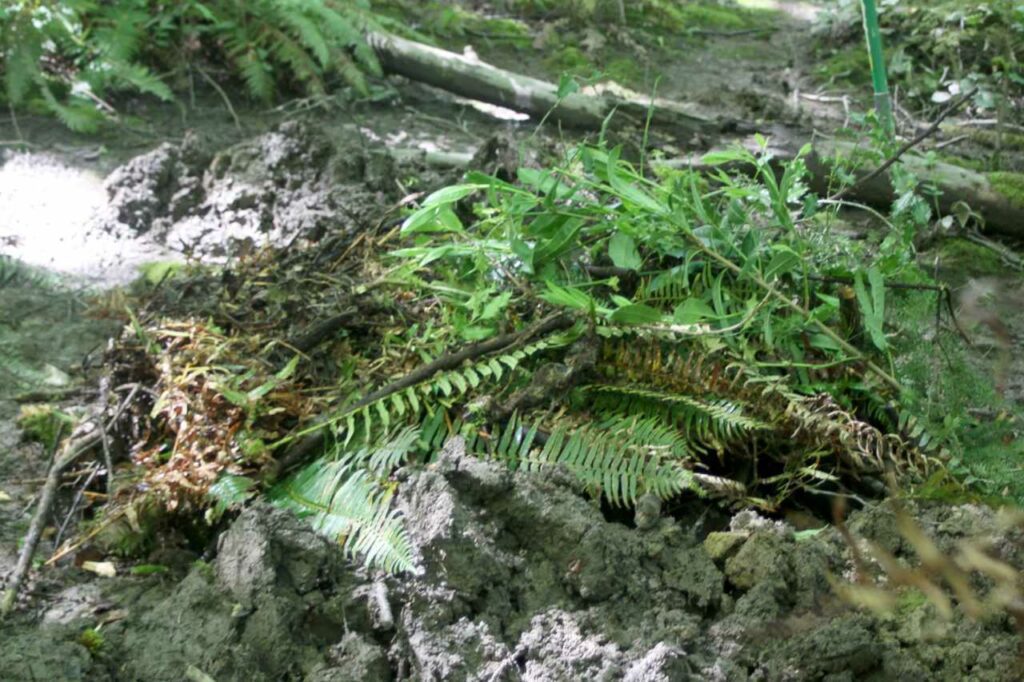
Step 5: Add a ‘green layer’
Now you add your ‘green layer.’ This typically consists of freshly pruned leaves, which have a lot of nitrogen and help to speed up decomposition and to build a healthier soil structure. In this example, we used a layer of finished compost rather than a green layer, which you can do too!
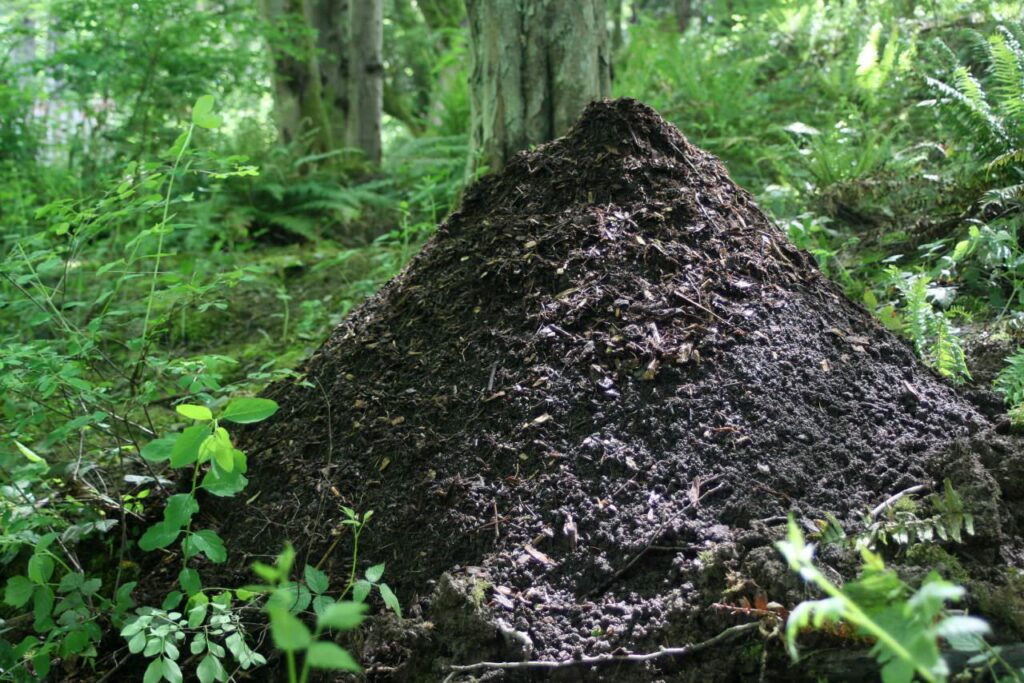
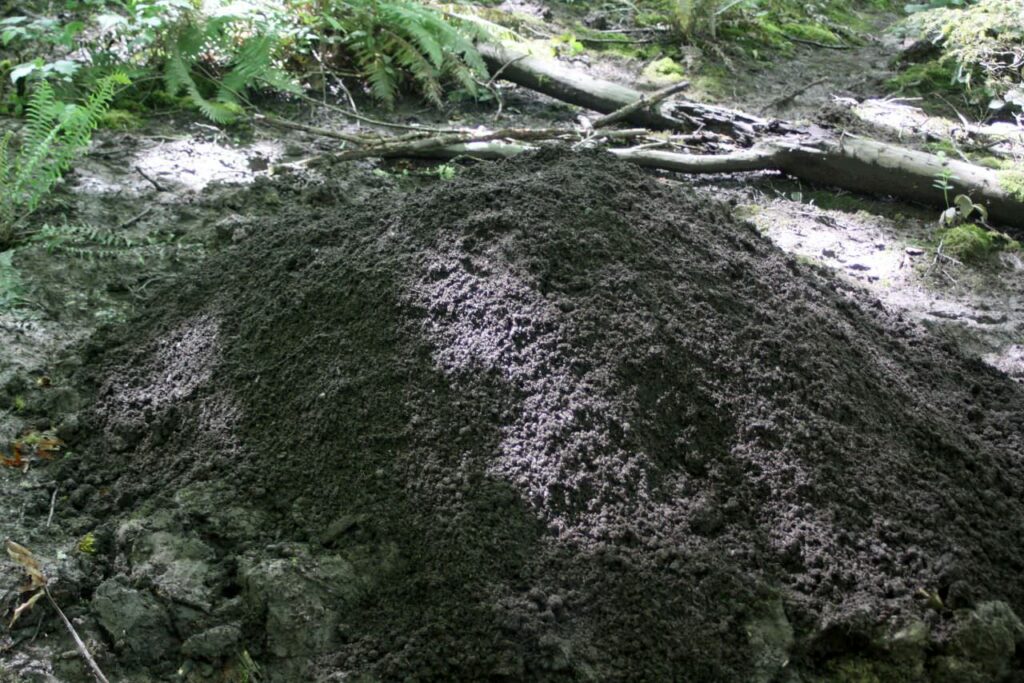
Step 6: Make a soil volcano
Cover your pile with soil, starting from the center, and letting gravity pull the soil where it wants to go. Continue to add to your pile, making a “volcano” with the highest point in the center. Make sure NOT to compact the soil; you want to allow your pile to breath and to keep oxygen flowing throughout. This soil will act as the substrate for your plants to grow roots in: being fed by the nutrients from your ‘green’ and ‘brown’ layers, while the large woody debris will serve as a long-term source of carbon for your plants
Step 7: Flatten the top
This soil will act as your planting layer so you want to add enough soil to reach a depth of 1-2′ so that your plants will have space to lay down their roots during early stages of growth. Once you’ve reached your preferred depth, smooth out the top layer of your pile.
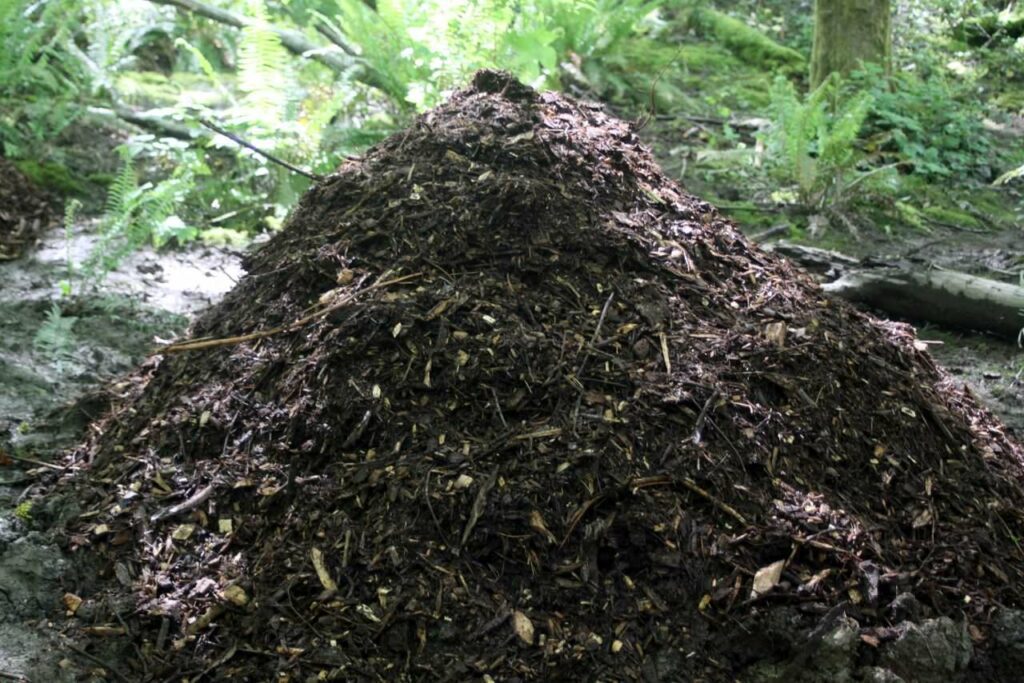
Step 8: Top with mulch
Top your pile with mulch as a way to retain moisture and to add additional nutrients for your plants. This is especially critical if you will not be planting into your pile right away, as to keep it from drying out.
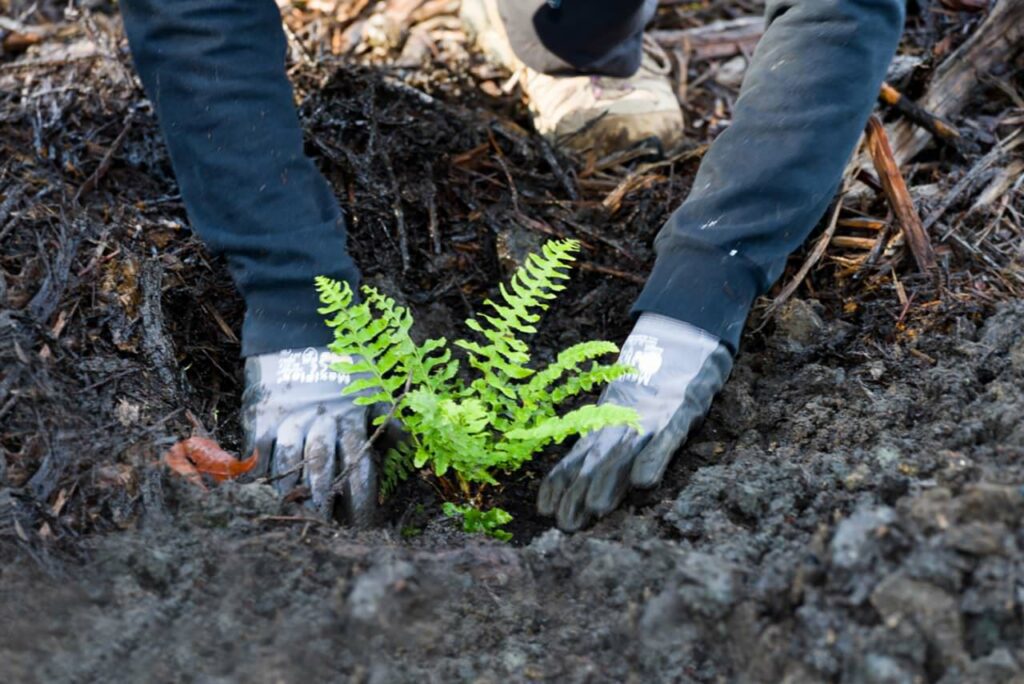
Step 9: Plant into the pile
The best time to make your Hugelkultur mound is in the fall so that you can plant into it right away. Since we created ours in late Spring, we made sure to add a good amount of mulch to keep our piles moist until planting season.
This post first appeared on the Green Seattle blog.